Pages

Showing posts with label Laser Cutter. Show all posts

Tuesday, 12 May 2015

Investigation and Reflection - Finalising the Individual Project

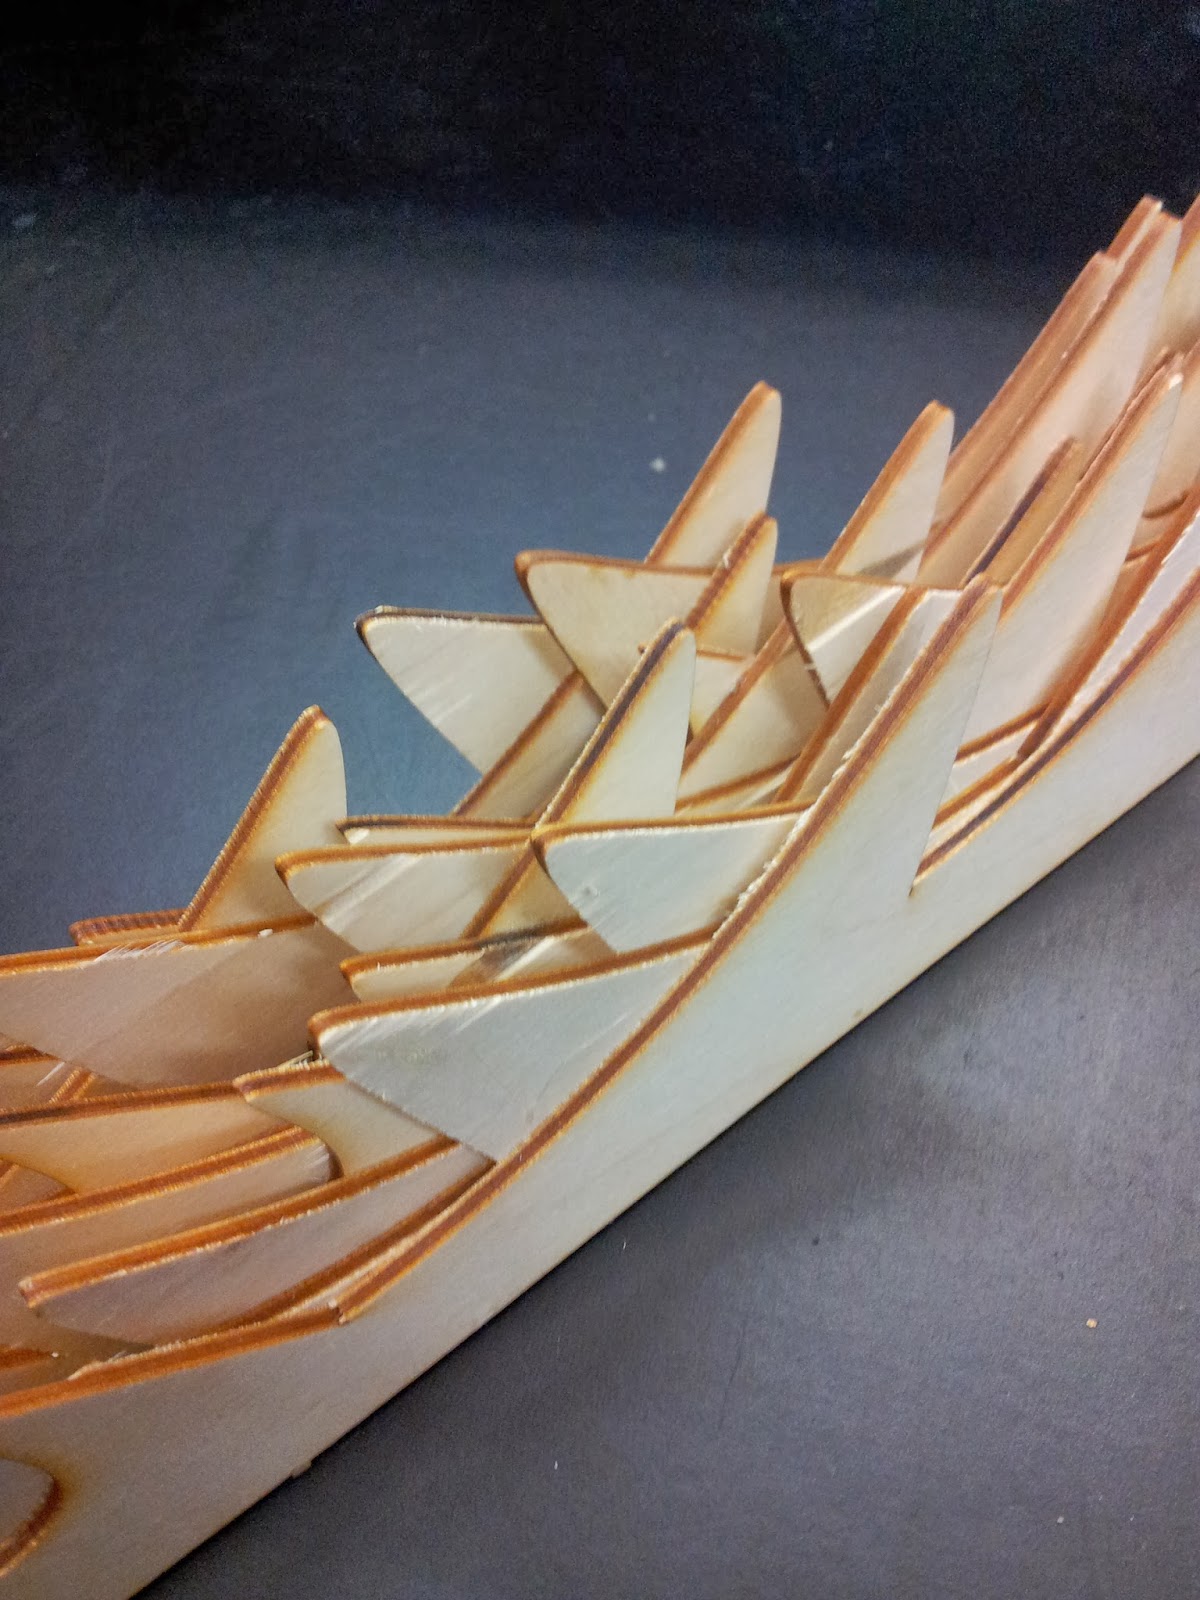
This week I set out to visit the Royal Exchange Theatre workshop again, and use it to my advantage, in order to choose an appropriate stain and varnish for the table. I tested several shades of wood stain on several different types and thicknesses of wood. 


With the idea in mind of wanting to make the wood look more expensive and aged, the Brown Oak and Brown Mahogany stains worked the best. I also applied a satin varnish to the samples to add a sheen to the surface. One of the technicians at the workshop allowed me to cut a piece of varnished 18mm birch plywood down to the size I needed - 800mm X 450mm. I then had to sand off the varnish so that I could apply a new one and the wood would take the stain. I thought a thicker plywood than the 6mm standard one from the laser workshop would be more suitable for the table as it is heavier and more durable, so 18mm was ideal!


Problems with producing the table

After sampling on the laser cutter last week, myself and Jenny tried to book back on the machine at the next available space to engrave the 18mm plywood. However, we came across our biggest problem in this project so far - there wasn't any space left until after the deadline! Adan the technician had a cancellation that same day, so there was a slight panic to gather materials together in time for the slot he could offer us. I managed to get the wood from home and get back to the workshop in time for the session, so it was a success, although it was very heavy! On beginning the session, Adan explained that we would not be able to cut through the 18mm plywood with the laser, as the thickest it could cut through is 6mm, although we would be able to engrave onto it still. We had to alter the design quickly in order to finish it within our given slot. In the short notice of being able to use the laser cutter, we didn't have any slate with us to engrave into for the centre of the table. We have had to change the design slightly so that only one 10cmX10cm tile will fit in the centre now - it is not ideal, and we would have liked more time on the machine to engrave better designs onto the slates, but there was a long waiting list after our session for cancellations, so we had to make the most out of a bad situation. Adan did however suggest that we could design the hole for the centre of the wood and he would be able to create a rebate for the slate to sit in using the CNC Router, making the surface flat and appropriate for use. I plan to revisit the Royal Exchange Theatre Workshop this week to finish off the table top, staining and varnishing it as planned. We will then find a way to secure the slate in place in the centre of the wood next week.

Stained Wood


Additional Work

Myself and Jenny, for our individual project, have decided to print some of our Photoshop work as printed artwork for Bruntwood to place wherever they want. The designs are in-keeping with our group project with geometric shapes and structures, however the colour scheme is different. We have pushed ourselves out of our comfort zones by not using colour on the table - usually our main starting point in our textiles work. We have also had some spare time at the end of the project, so we thought we would use our initiative and create a collection of fabric samples too. If we had more time, we would have ideally liked to screen print these designs onto the table top as a feature - inspiration from Daniel Heath (immediately below).


Wednesday, 29 April 2015

Investigation 3 - Laser Designs - Individual Project

After designing the table top on Coreldraw for the laser cutter, myself and Jenny finally got on the laser cutter machine! We began to sample, testing slate, MDF and plywood so we had a better idea of what would be effective for the final product. We had to downscale the designs when we got there because we realised they were going to take too long to laser in the time we had booked. During the sampling process, we made some decisions about the layout of the table design, mixing materials and shape compositions we had not given consideration previously. If we were to enlarge the designs to be of larger scale, and be a more dramatic table, we would have to consider the time it would take to engrave so that we could plan our time effectively around this.

A couple of prototypes of the compositions:


Parts of the slate did not engrave fully because of a waxy substance on the surface which was there when we purchased them. This was unavoidable, and although it was not intended to laser the way it did, I think it adds to the rustic feel we were looking for on the surface. I plan to stain these to see how the woods absorb the colour - we want the surface to look more expensive than plywood and MDF in the final design. We would also need to use 6mm thick wood as the slate tiles measure 5mm thick, so that the table has a flat surface and is practical. From experimenting with scale, we have come to the conclusion to make the samples above (currently A4 size) twice as big so that they cover the whole laser area capacity. This would mean that the hole in the centre would be able to hold 4 tiles. We could enlarge a design to cover all 4 tiles, or have 4 cohesive designs together, we haven't finalised this decision yet. 

Saturday, 21 February 2015

Self-Initiated Brief Final Samples - Evaluation


My final collection of samples for my self-initiated brief have been abstracted from my initial idea of 'anatomy' in order to appeal to a more commercial interior audience. I have put all of the designs into half-drop repeat as this is most commonly used within industry. They have been printed onto cotton poplin and cotton satin to experiment with different fabric weights. I prefer the cotton satin as it is sturdier and I could see it being appropriate for use within an interior space, rather than the cotton poplin which is relatively flimsy and could rip more easily. 


I have produced the samples above in a larger scale than previously (64cm X 64cm) in various colour ways as I thought the red triangle was a bit gory and didn't suit the sample. I tried out orange and purple, but I prefer the purple as it compliments the other colours in the sample more than the orange and red do. I would have liked to layer laser cut grey wool over the top of the larger samples to gain a better understanding of how this would work, and if it would be suitable for my audience.

The colour choices I have made merge neutrals with slightly brighter colours to accentuate my designs in areas and allow a slightly graphic approach to the abstracted shapes. Other samples incorporate colours that clash slightly such as red and purple mixed with greys, which I have found a challenge to work with. I feel this would make my designs suitable for most commercial interior audiences. By using metallic threads in these designs it allows a lightness in areas as highlights which reflect the light when turned in different directions as the stitches are all running in different directions. On darker fabrics, I have used metallic threads to offer a relief surface, which allows quite 'dry' looking fabrics a moment of shine which I believe I have achieved effectively.

When using the Bernina machines, I considered how the stitches I used could relate to my concept of anatomy, with one in particular imitating a heart beat. I played with the stitch length when using satin stitch to add depth to the shapes on the print so it didn't look like a flat surface.


The most successful samples are where techniques have been combined to create different effects on the fabric (above), rather than where only one has been used (such as the laser-cutter, Bernina and Digital Embroidery separately). The sample below has lost all its shape because the fabric was too thin. I used cotton poplin with the laser cutter and the fabric just disintegrated. It improved slightly once ironed but it doesn't hold its shape still - cotton satin and wool would have been better choices. 


This sample would have been more successful on a more sturdy fabric, with a lower number of cut-outs as they have ripped into one larger hole in places.

I feel to have developed a way of working that is effective for me during this project, allowing myself time to think about designs in order to move forward. Also, by developing skills in both Photoshop and Illustrator throughout this project, I have been more confident when it came to using these programs to create designs. I believe without being able to use these programs as well as I can now, I would not have been able to achieve what I have done throughout the project.

Friday, 20 February 2015

Engineering Embroidery - Evaluation


The collection of samples that I want to present for the engineering embroidery project involve a range of sizes and material qualities. I have used leather mainly, using the front and reverse to explore different textures. 


Initially, I used PVC (above) as a cost-saving substitute for leather, which I later decided didn't fit the brief properly - the textures were all the same, whereas with leather there are different weights to try out. Similarly, the designs I stitched out onto the PVC on the multi-head embroidery machine initially were far too literal, so I developed them to be more abstract so they would be more appropriate for the audience. In the process, I used repeat motifs in my new designs, picking the negative space out with the magic wand tool on Photoshop.


My initial colour palette evolved from a few of Timorous Beasties' prints, but later I moved onto metallics in similar shades to enhance the material quality - the leather side appeared flat and the suede side of the leather had a dryness to it. The metallic threads added a new surface quality, a shimmer on the suede that can only be seen in light. These are some of my favourite samples from this project (below).


Some samples were not as successful due to colour choices and composition of their design. 


(Above, left) The choice of purple with this particular leather clashes slightly, and the white shapes are not particularly well arranged, however, the metallic bronze thread I feel works well because it is within a similar colour range to the leather itself; it has a subtlety to it. (Above, right) The leather was quite thin and flimsy, meaning that it got slightly sucked into the machine, causing it to pucker. The design is also stitched too closely together, making it quite dense. I wanted to create a shadowed effect, although I don't think this has been executed properly.

If I was to develop the project further I would have liked to up-scale some of the designs as they are all relatively small and of similar sizes, as well as layering samples using varying techniques such as the laser cutter with machine embroidery. To do this I would need to have better time management when booking onto the Laser Cutter and a wider variety of digital skills so that I could create more innovative designs than what I did. I would also like to try out other materials on the digital embroidery machine to see how they react. I feel I have worked outside my comfort zone with this project due to not experiencing or working with car interiors before, although I believe my work is in-keeping with current interiors due to the materials used. However, the designs and thread choices introduce a new aspect to this particular market as they are graphic rather than subtle.

Tuesday, 3 February 2015

LaserCutting

My focus this week was to manipulate my designs for use with the laser cutter onto leather and my digital designs to create layers and textures suitable for an interior market. I digitally printed my designs onto a thicker cotton that is of higher quality than ones I have used previously. I feel this is more suitable for the context of my work.

Laser Cut Samples


The leather gave off a strong burning smell, but left a crisp edge once cut. I think the pattern on the bottom two samples is suitable for an interior market due to being floral and repeated.

Self-initiated brief

Using the Bernina machines, I carefully selected metallic threads to pick out elements of the print designs to stitch into. They add a slightly rough texture to the material as well as a subtle relief surface. I intend to combine the samples already stitched into below with the multi-head machine next week. This would allow people within industry to repeat my designs using the jump to start element on my designs, meaning they can make several identical ones.


I prefer the more muted colour palettes rather than the contrast of the red and purple. I also think the muted colours would be more adaptable for the commercial interior market and would appeal to a wider number of people. The red and purple palette could be considered a 'high-end' design and therefore is more of a niche market with a smaller target audience.

Wednesday, 29 January 2014

Laser Cut Sampling

This week I experimented with different materials on the laser cutter to see how they reacted and what effects they created. 

I used plywood to create a sculptural piece to replicate the bark of a tree, however I feel that the pieces I cut out are too sharp and spikey to present this effectively.

With the edge of the plywood burning it makes the sample look more like the bark of a tree and enhances the effect.
Other samples I created were in denim, holand linen and organza which I engraved into and simply cut through. The better samples were in the stiffer materials such as the denim because it held its shape and didn't fray as opposed to the flimsy organza. 


I collaborated the two textiles worlds I have been a part of and used the cornely and bernina machines to work into the laser cut samples to add texture to them. The ones that worked best were the ones that increased the surface of the sample such as the pin-tuck foot on the Bernina machine. The cornely was effective for creating a new texture on the samples and reflected the natural landscape such as moss.


Although I like the way the thread shows on the pin-tuck sample, I feel the sample would be enhanced further if I used a thread that was the same colour as the fabric in order to create a raised surface that looked seamless. The cornely stitch also reminded me of the rings of a tree although the sample replicated the moon shape through its cycle.

Friday, 17 January 2014

Laser Cutter Creations

Before I began to think about ideas for laser cut designs, I came across the work of Sivan Roys who is a mixed media artist. His work 'Blooming Structures' particularly interested me due to0 the simple yet complex structures which he creates. His way of working influenced one of my designs due to the way he connected the individual shapes together to create a structure using a material as simple as string.
http://sivanroyz.com


My original drawings of natural forms of data included seaweed which I translated into Coral Draw and Laser Cut duplicate shapes which I then connected together with string through small holes. I believe my sample would have been better if there were more of the seaweed shapes as it would have been thicker and more effective.
However, I like the way that the shapes make the final sample 3 dimentional and textured and I prefer this effect to the generic ways of using the laster cutter such as engraving, for example because it makes my work different.
Another sample I have created is based around the idea of the Moon as data. I found an image of 'Phases of the Moon' by Irwin Glusker which demonstrated the moon going through the cycle of changing shape as it orbits the Earth.


I attempted to recreate this into a design and used the engraving tool on the laser cutter to try and make the shapes look 3 dimentional by using deeper engraving at the edges. Although the denim I used was effective with use on the laser cutter for deleting the colour from it, I don't think that the material was the best choice for deep engraving and I feel a lightweight wood would have been better for the effect I wanted to create.